


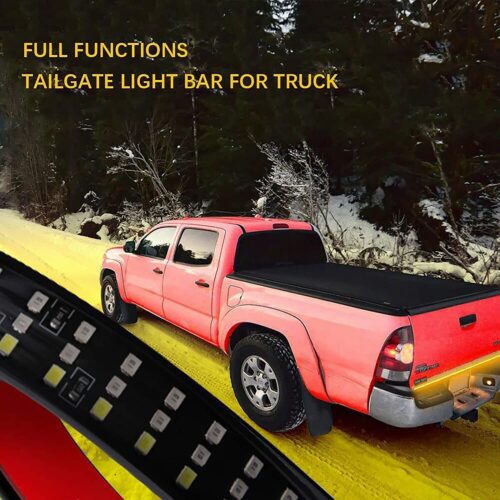
Description
【DIY Your Car】 Amexmart 4D LED Light Up Toyota Logo Light enhances your car’s style and makes it more eye-catching at night, improving safety.
【High Quality Material】 The Toyota badge is made of ABS plastic and aluminum, making it durable, waterproof, and dustproof. It can withstand various elements.
【High Performance】 The lighted up Toyota emblem light with high-quality LED chips are bright, long-lasting, and low power consumption. And there are three colors to choose from: white, blue and red.
【Easy to Install】Toyota Illuminated emblems come with a strong double-sided adhesive that makes them easy to install on any smooth surface.
【Widely Used】This illuminated emblem is compatible with most Toyota vehicles, including sedans, trucks, and SUVs. Please check the size of the original badge before purchasing.
Specification:
Voltage: 12V
Power: 2W
Material: ABS plating
Color: White/Blue/Red
Package Included:
1Pcs* Light Up Toyota Emblem
Light Up Toyota Emblem Fits:
【Front Emblem Size】
5.51 x 3.94 inch (14 x10 cm) Fit for Camrys 2009-2013, EZ, Corolla 2017-, old Reiz, Vios 2006-2007,Yaris 2014-,
5.91 x 3.94 inch (15 x 10 cm) Fit for New Reiz, Yaris Before 2013, Alrhard, New Vios
6.30 x 4.33 inch (16 x 11cm) Fit for Prado, EZ, VIGO, Highlander, RAV4, Avalon, Camary 2014-,
【Rear Emblem Size】
3.94×2.68 inch (10 x 6.8 cm) Fit for Corolla 2003-05, Reiz 2012,New Vios
4.33×2.95 inch (11 x 7.5 cm) Fit for Crown,New Corlla,Reiz 2005-09, Vios 2002-08,Avalon
4.72×3.15 inch (12 x 8 cm) Fit for Camry 2014- ,Yaris,2014-,Carolla2007-11,Levin,Rav4 2014-
5.12×3.50 inch (13 x 8.9 cm) Fit fot Camry 2006-2013,Yaris,before 2013,WISH,Previa2017
Pls check the measurements of your original emblems before you purchase.We will not accept the return back due to wrong size.
Installation Steps:
Please have the following tools ready before you start:(1. Flat head screwdriver 2. Phillips screwdriver 3. Insulating tape 4. Towel 5. Pliers)
1. First, place a towel next to the tailgate logo, use a flat-blade screwdriver to shake the logo, and towel to prevent scratching the body.
2. Pay attention to peeling off the double-sided rubber first. When the squatting is moderate, don’t be too fierce. After a little bit, slowly squat down, and clean the car logo and the double-sided tape on the body.
3. Use a Phillips screwdriver to remove the partition inside the tail box. Note that there are clips in some places.
4. Install the car standard light, the car standard light power line passes through one of the car standard positioning holes, and wears the single-sided glue on the back of the car standard light inside the car box. While pulling the wire, the car mark light is glued to the vehicle body, and the pressure is pressed tight.
5. The car light is installed, and now it is connected to the power supply. The car light should be connected to the power supply of the license plate
Reviews
There are no reviews yet